Hosting your blog on github is easy. But how do you add posts ?
This guide can help you add posts locally and push them to your blog.
Prerequisites
You have to have Git installed locally as well as some editor to edit to the Markdown files.
You can find git Here
Personally I use Visual Studio Code which is free and comes with a nice Markdown previewer out the box.
Visual studio code can be downloaded from Here
If you’d like a good linter (analyzer) to check for errors in your code install MarkdownLint
To run your site locally, you need Ruby with Jekyll and Bundler installed.
You can find Ruby (ensure MSYS2-Devkit is also installed ) Here
You install Jekyll and Bundler by running the following Gem Command
Gem install Jekyll Bundler
Clone your github repository locally
Navigate to Github, Login and click on the Search box
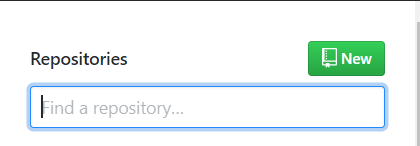
Type in your repository hosting your blog {github_name}/{github_name}.github.io.
This is my repository example
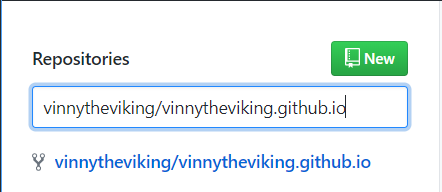
Now click on the actual repository to open it
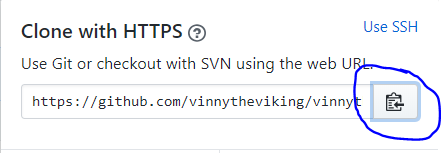
Next, click on the Clone or download button

Click on the Copy option to copy the url of the repository
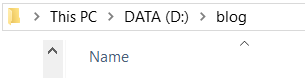
On your local drive create a folder to copy your site into
Open Command Prompt and type
git clone {Your_Repository_URL}
Here’s mine
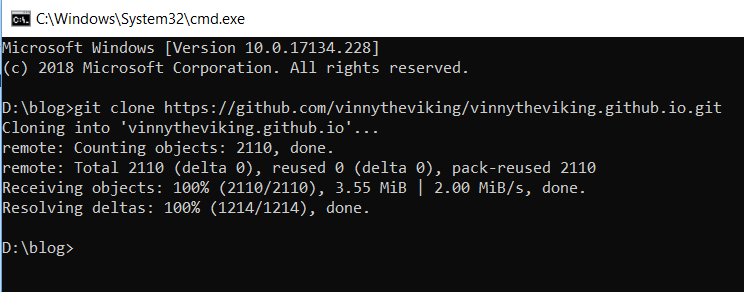
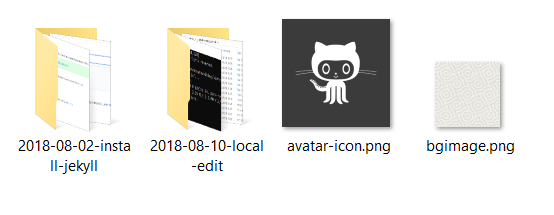
You should now see a folder with your github blog name

Adding a new post
Notice the _posts folder.
This is where your blog posts will live.
Images used in the blog posts should be placed in the img folder.
I tend to put blog post associated images in it’s own folder for structure.
To add a new post, open the _posts folder and add a new markup file with the following format yyyy-mm-dd-{post_title}.md
Open the file and add the following to the top of the file
---
layout: post
title: {Title_of_your_post}
subtitle: {Subtitle_here}
tags: [Any appropriate tags]
---
Now add the rest of your post using Markdown
Test your changes locally
To test your changes locally, do the following.
Firstly you need to add a Gemfile to the root folder of your blog.
Open the file in your favourite editor and add the following
source 'https://rubygems.org'

gem "github-pages", '163', group: :jekyll_plugins
Save the file then open a commandline in the root of your blog folder
Run the following command
Bundle install
Then
Bundle exec Jekyll serve
You’re blog will be available locally at http://localhost:4000
Running Bundle exec Jekyll serve enables live tracking of changes to posts.
Change any of your posts, save the file and the site at local host will have the changes after refreshing the page.
Deploy your site to github
Once you’re ready to deploy your site, open the command line at the root of your blog folder.
Run the following command to add your new files
git add *
Now run this to commit your changes locally
git commit -m "{your_commit_comment_here}
Now push your changes to github
git push
You’re changes should now be available online
Congratulations !!!